Download and install Volumix
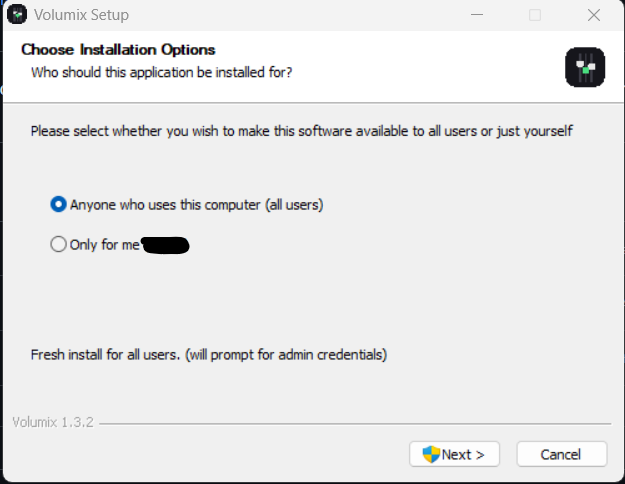
Grab the latest installer from GitHub, then run it. You can install Volumix for just your account or for everyone on the PC — either works fine.
Windows might flag the installer. Since Volumix is a small independent release, SmartScreen may show "Windows protected your PC." Click More info, then Run anyway. This is normal for new open-source apps.
Find Volumix after install
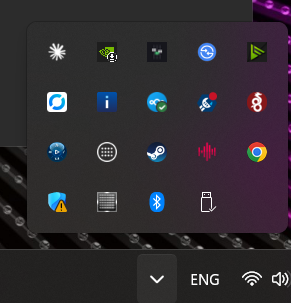
Once setup finishes, Volumix may start minimized in your system tray instead of opening a window right away. Click the ^ arrow near your clock to see hidden icons, find the Volumix icon, and double-click it.
Open the settings panel
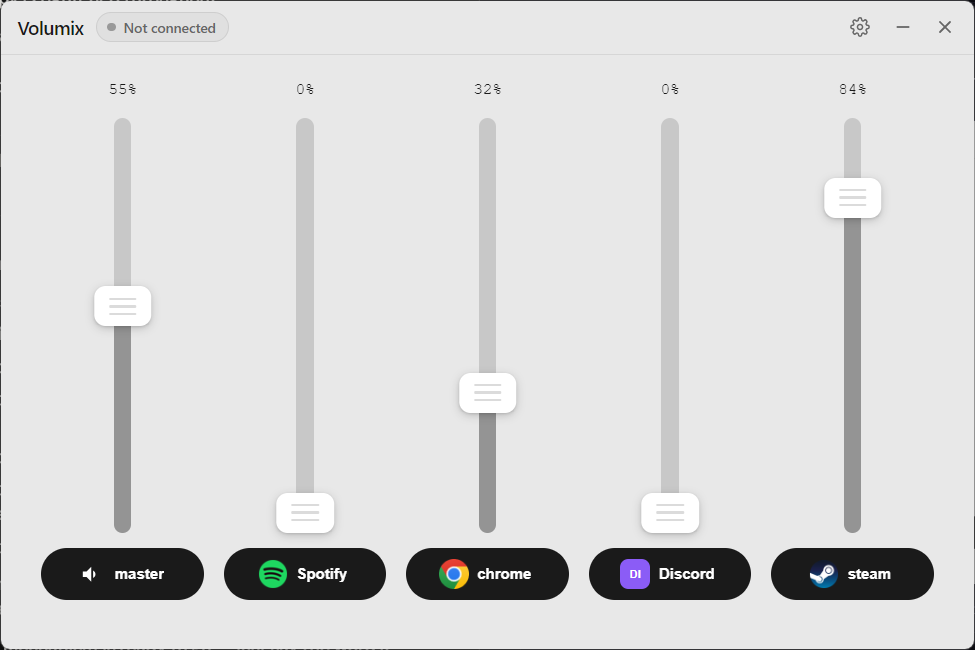
In the Volumix window, click the gear icon in the top-right corner.
Pick your Faderbox's port
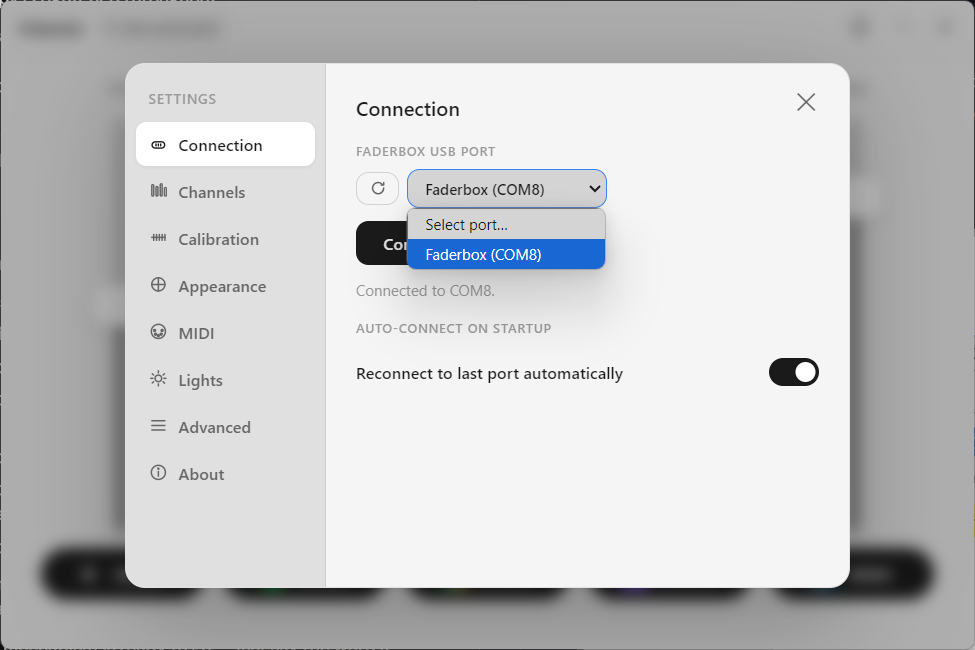
Under Connection, choose the COM port your Faderbox is on. Volumix usually finds it automatically and labels it "Faderbox" — if you only see one option, that's the one.
Turn on Reconnect to last port automatically so Volumix finds your Faderbox on its own after every restart.
You're connected
You'll see a green dot and "Faderbox connected" at the top of the window. Move a physical fader — the on-screen slider should move with it. If it doesn't, double check the port you picked in the last step.
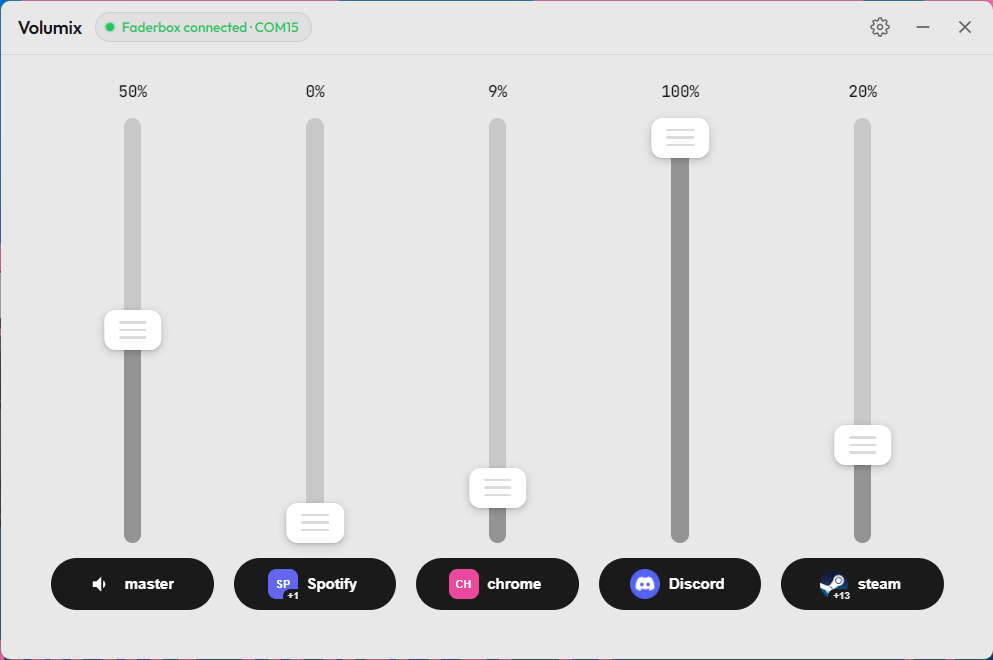
Bind an app to each slider
Below each slider is a pill. Click it to open the app picker. Under System you'll find Master Volume — select it and press Done to bind your first slider.
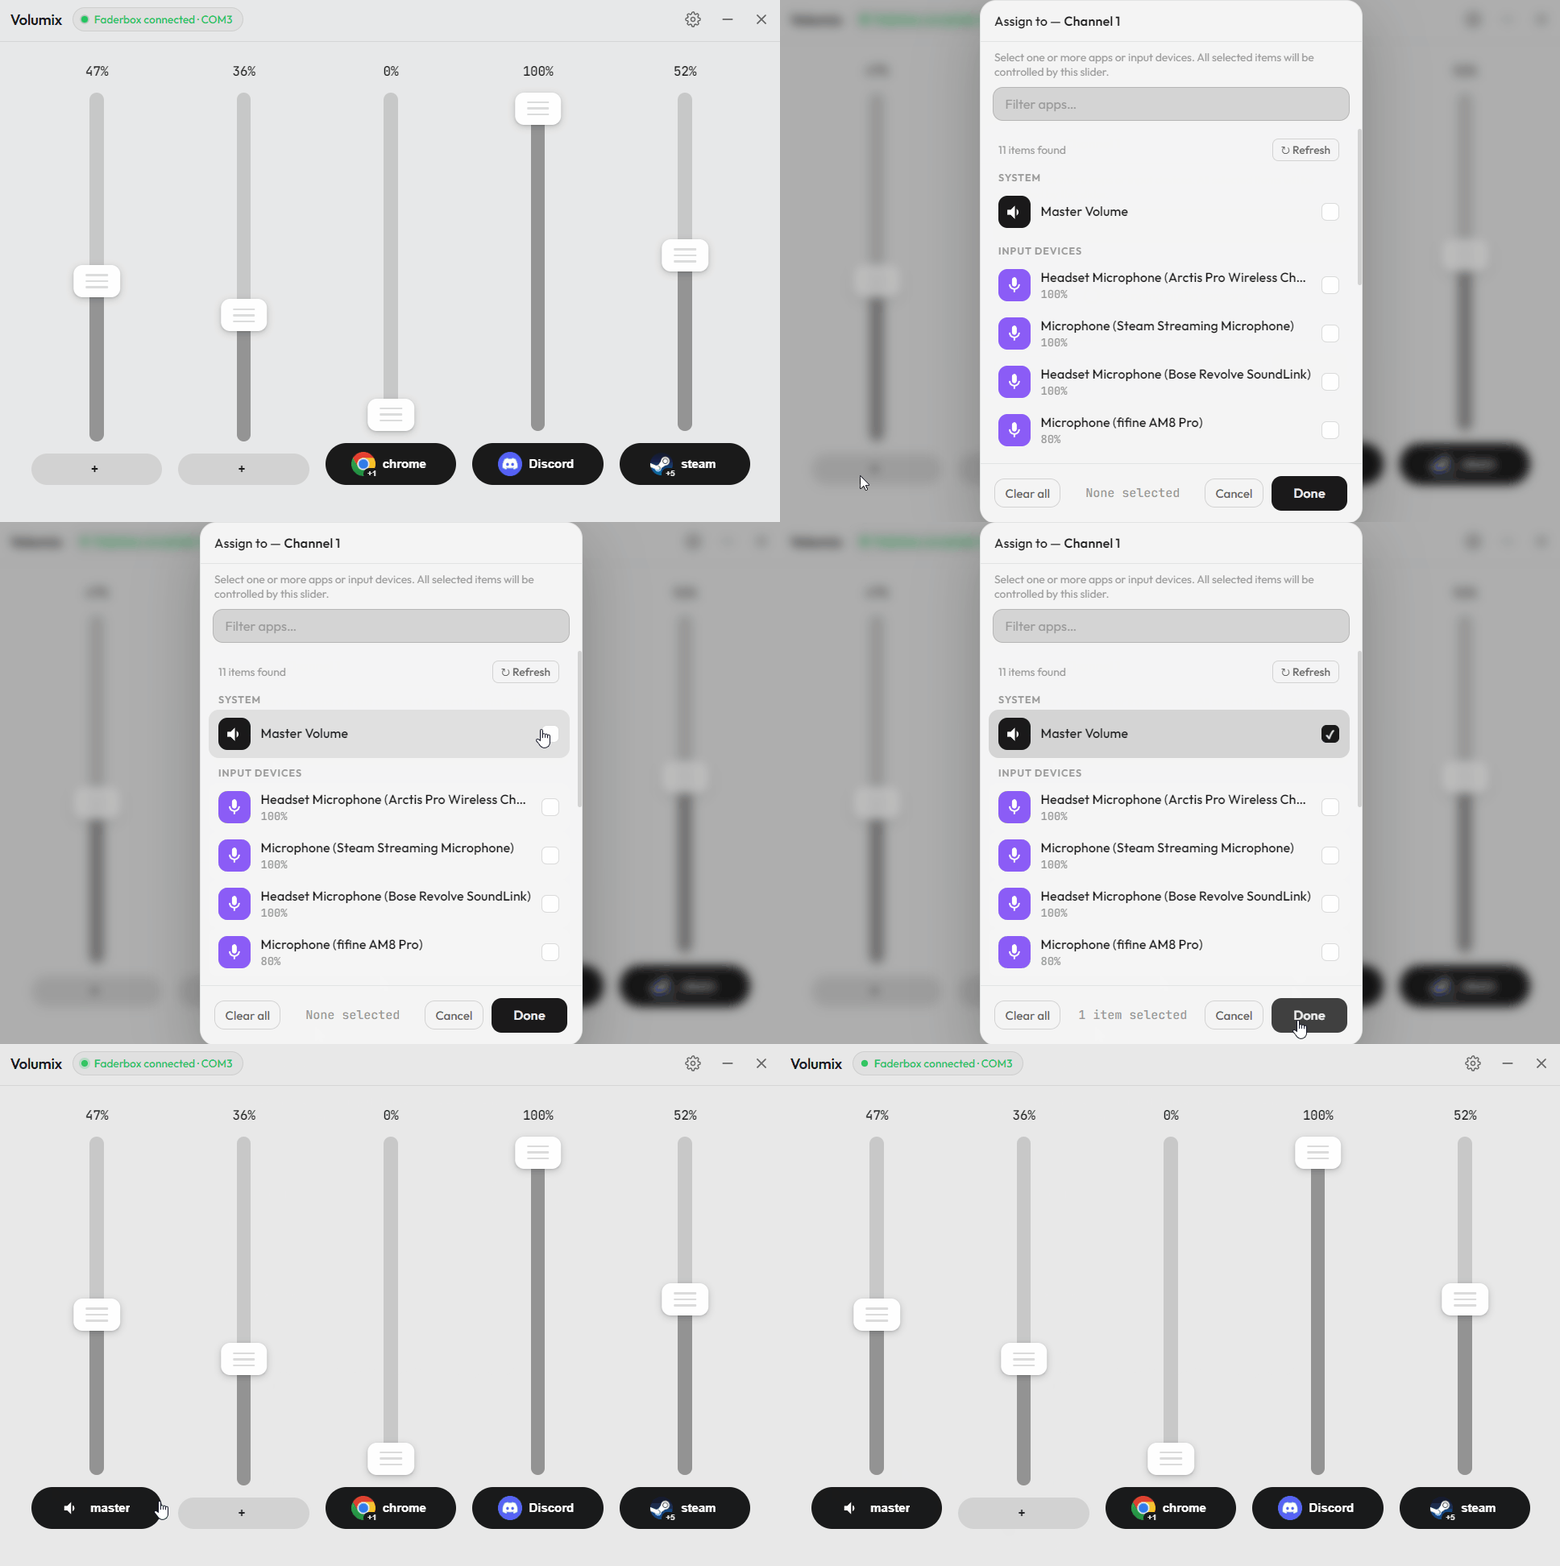
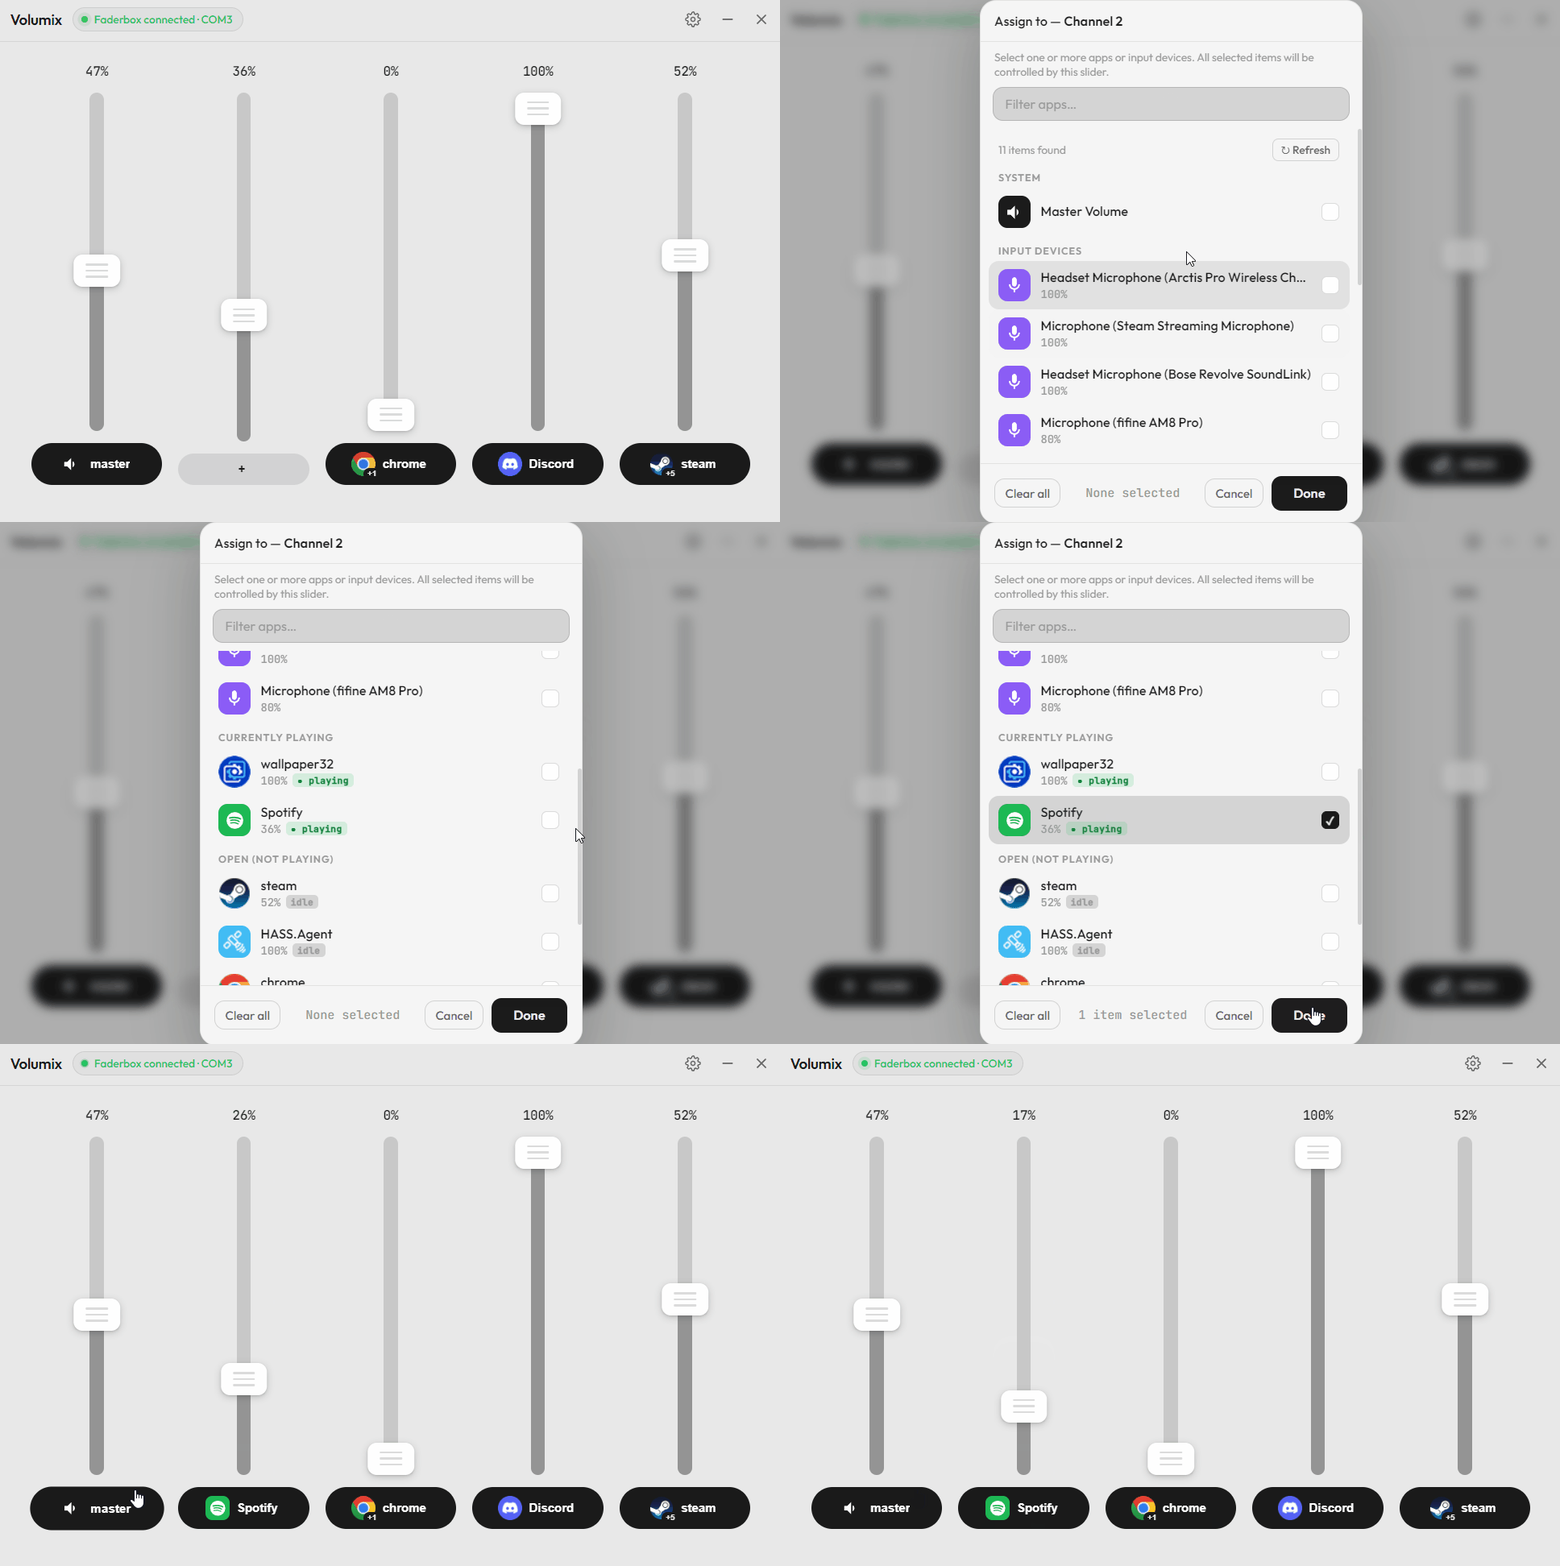
Do the same for any app — search for it under Currently Playing or Open Apps, check the box, press Done. You can bind more than one app to a single slider, which is handy for grouping every game you play under one fader.
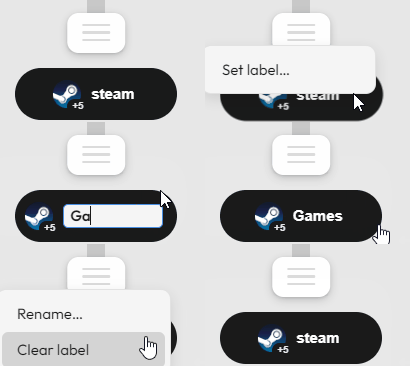
Once a slider has multiple apps on it, right-click its pill to give it a custom name. Sliders aren't just for output either — bind microphones and other input devices the same way, under Input Devices.
Start Volumix automatically
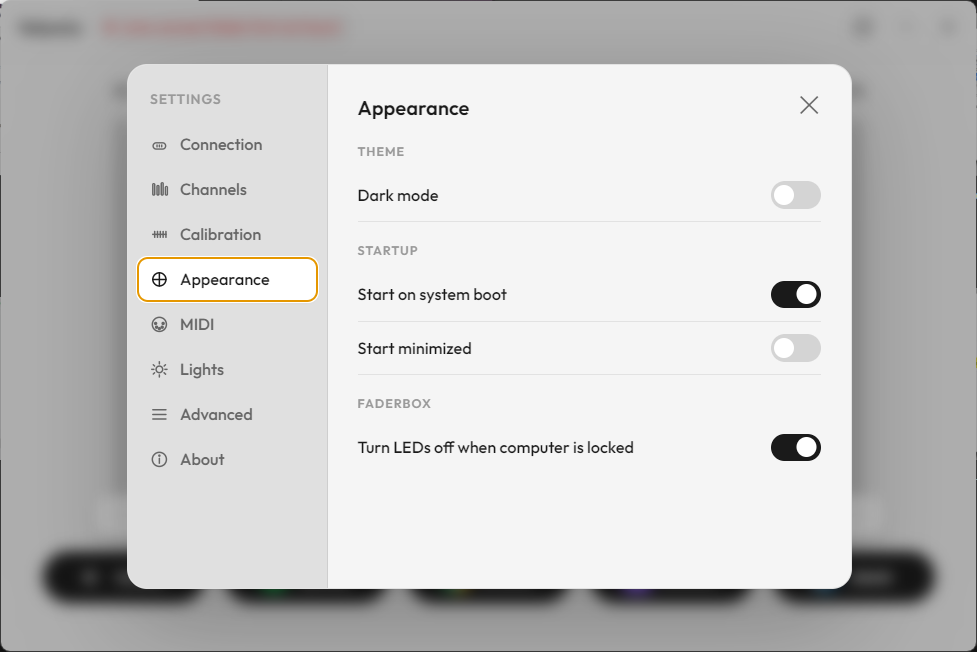
In Settings → Appearance, turn on Start on system boot so Volumix is already running whenever your faders are.
You're all set!
That's the whole setup. Volumix updates itself in the background, so you'll always be on the latest release without doing a thing. If you hit a snag or have an idea for a feature, we'd love to hear it.